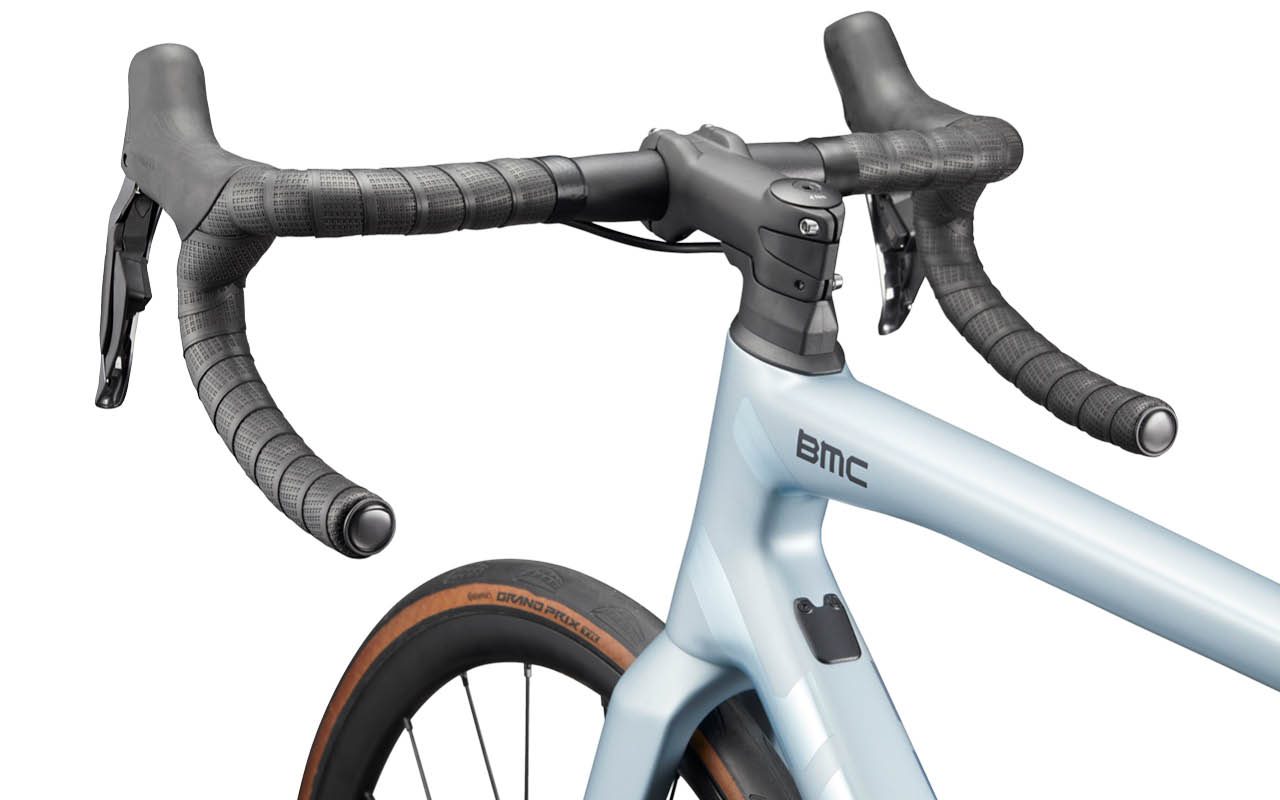
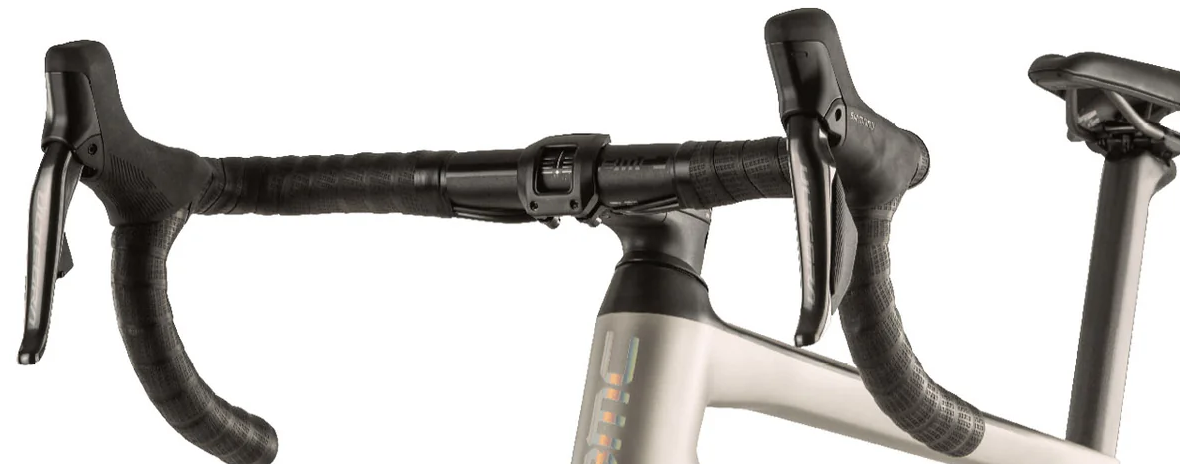
When I joined BMC Switzerland in 2022, the brand’s integrated cockpit technology was already well established. However, it came with a limitation: fully integrated cable routing was only available on bikes starting at around €7000.
The reason was simple. The only compatible stem used for internal cable routing was the ICS2 stem system, a high-end solution whose cost made it difficult to specify on more accessible models. As a result, integrated cable routing remained restricted to the top of the range.
Together with Angelo Lecchi, also Senior Product Manager, we pushed internally to explore alternatives. We asked the R&D team to develop a more affordable solution that could bring integrated cable routing to a wider range of bikes.
An initial idea emerged: creating a more economical version of the ICS2 stem. Unfortunately, even this approach remained too expensive to reach the desired product segments.
So during the long weekend of May 1st, 2022, I started working on the problem myself.
The « Core » Idea
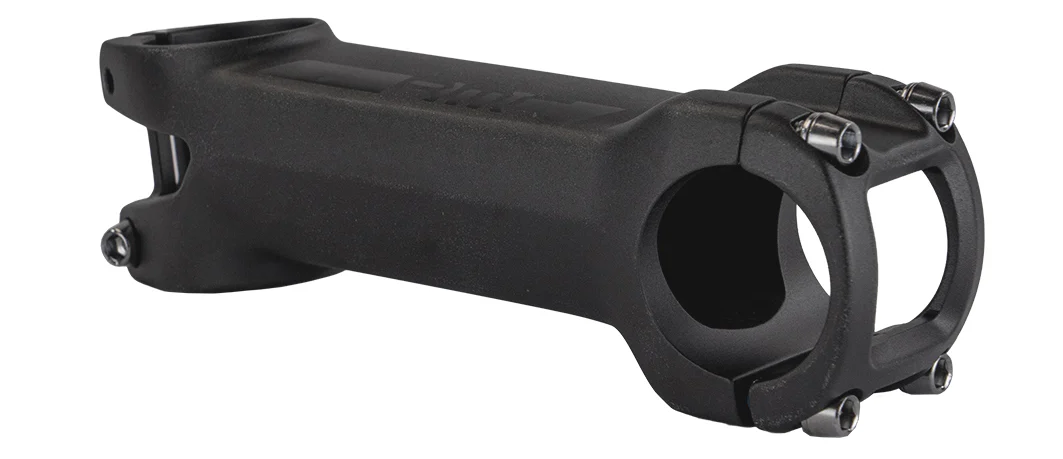
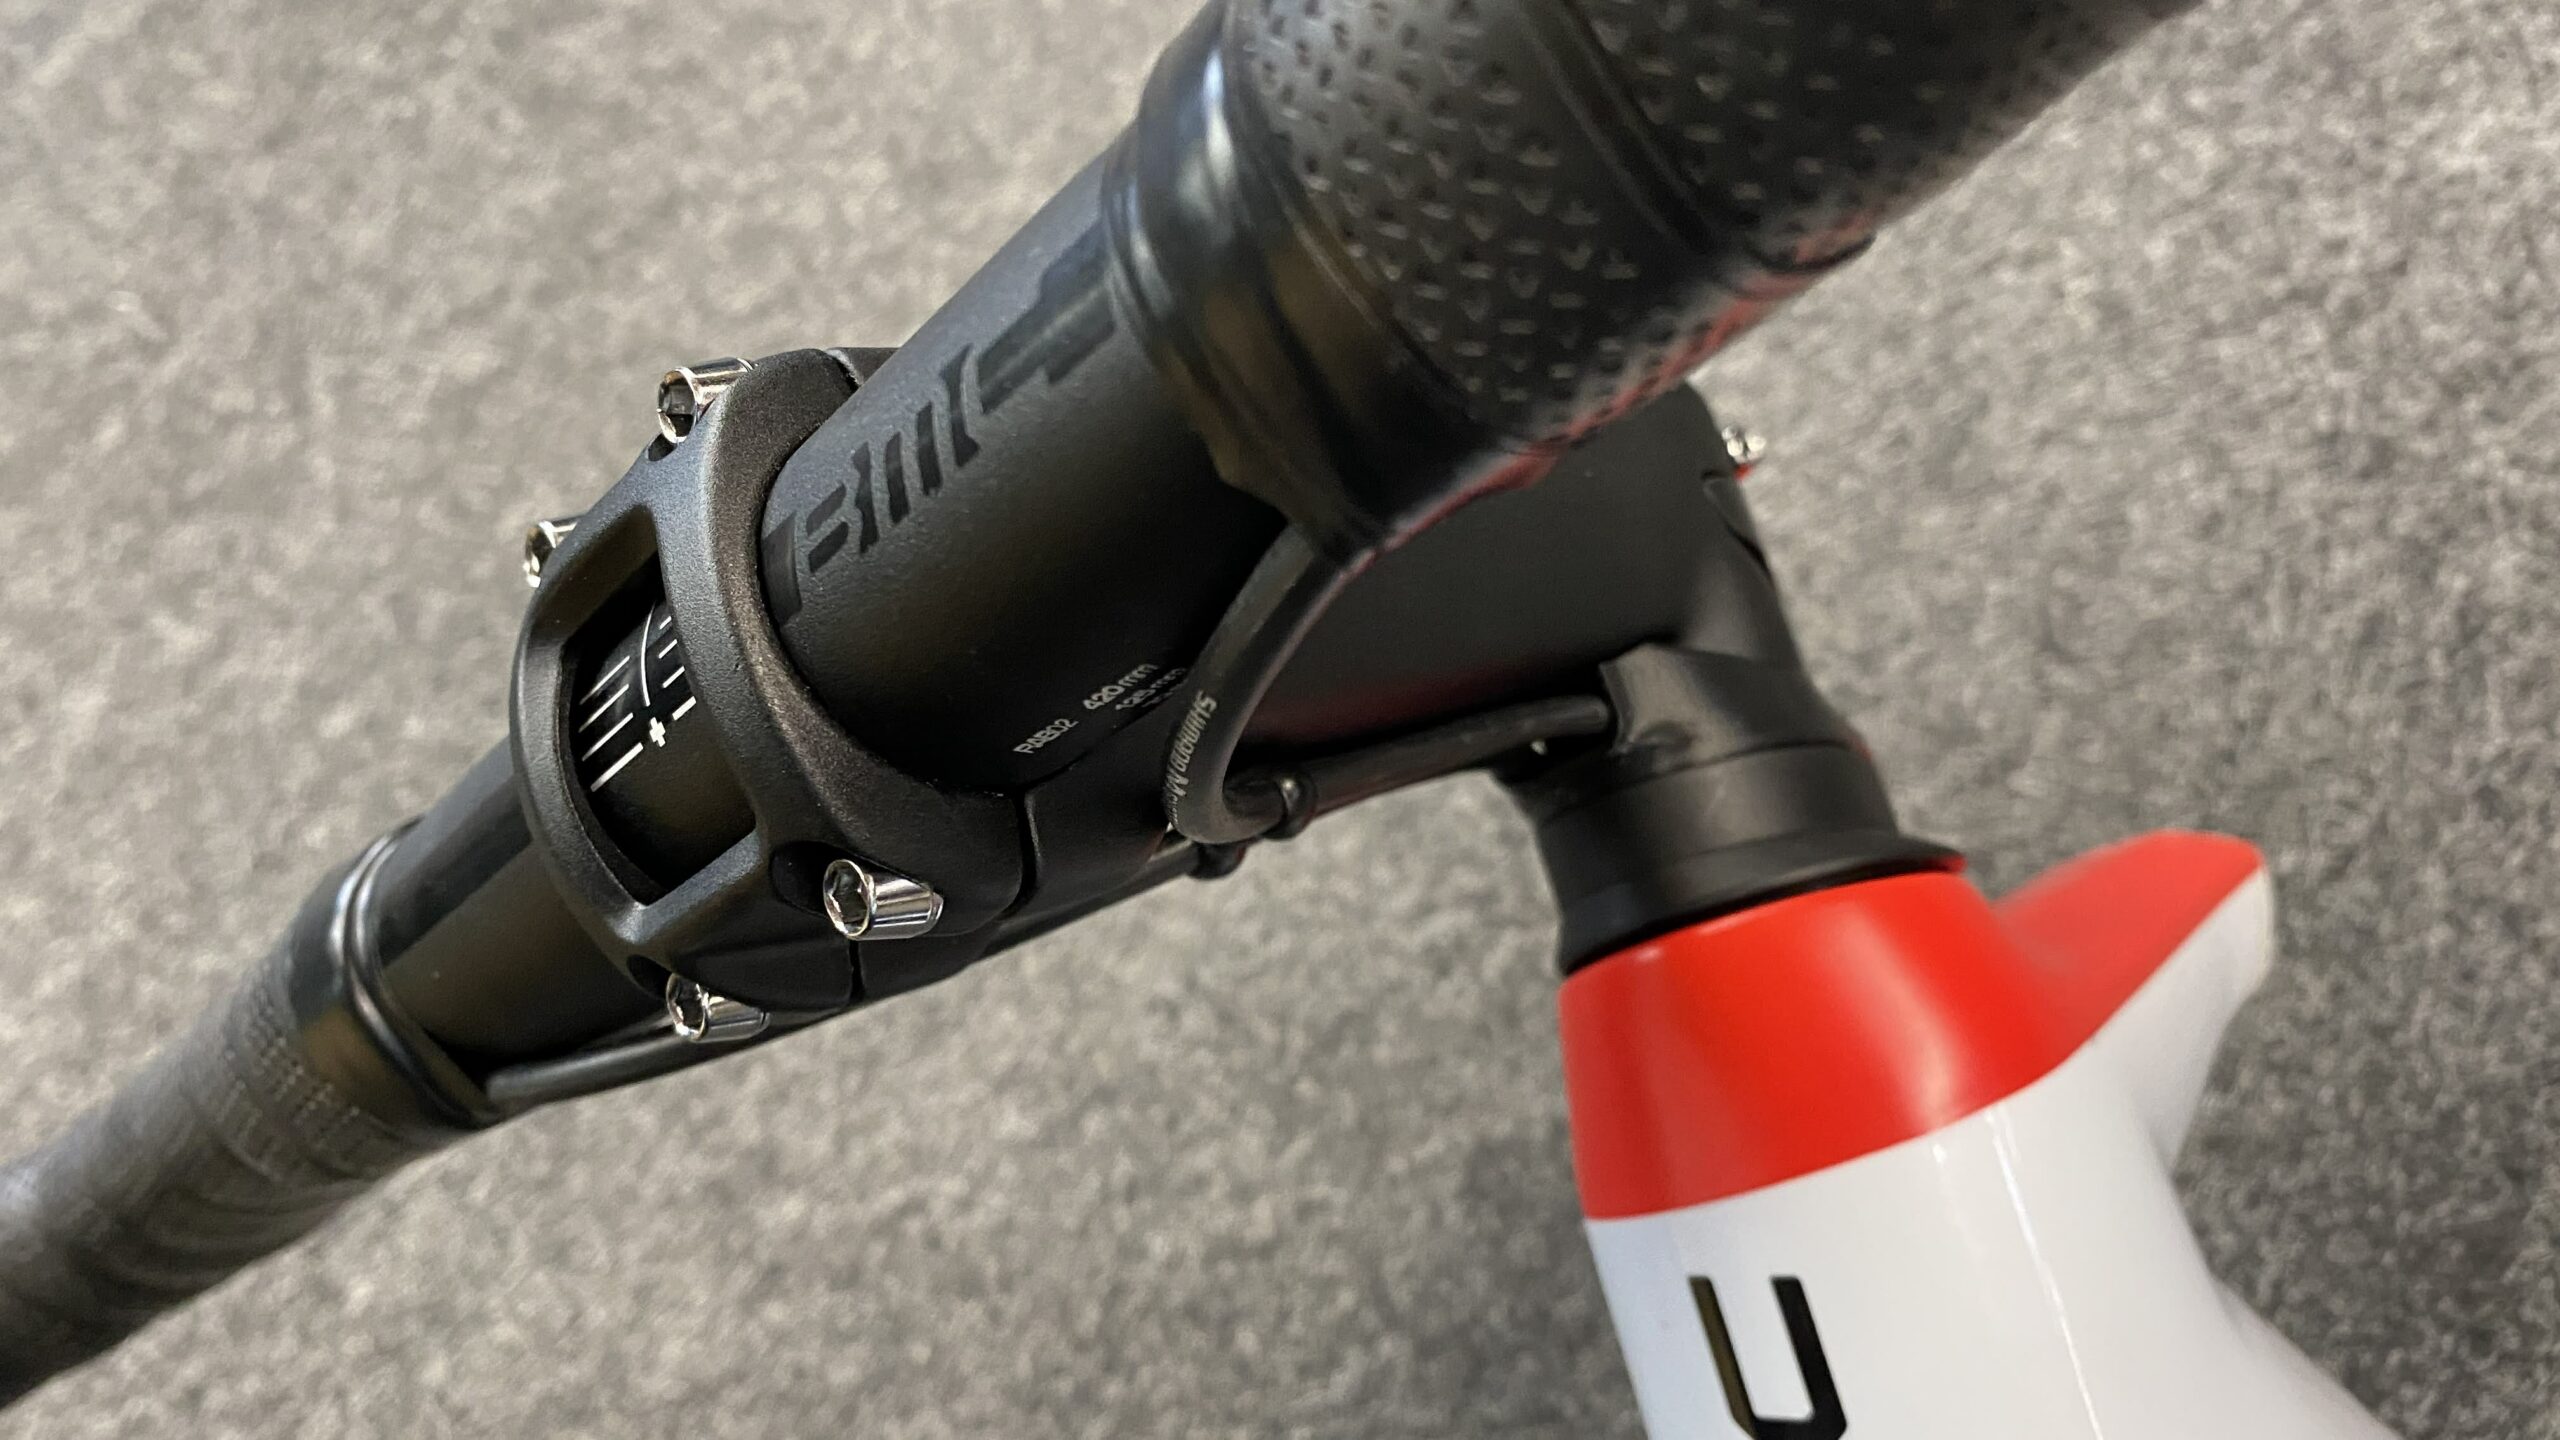
The concept was straightforward: use the existing BMC RSM01 stem, whose cost structure was ideal, and combine it with the ICS2 ecosystem so that existing top cones and spacers could still be used.
What was missing was the interface between the two systems: the ICS spacers and the stem.
This interface quickly became known as ICS Eco.
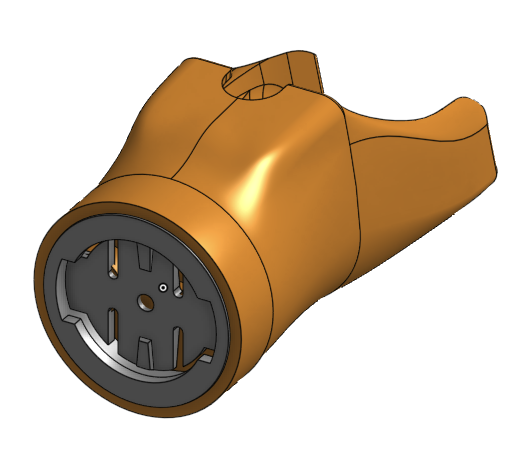
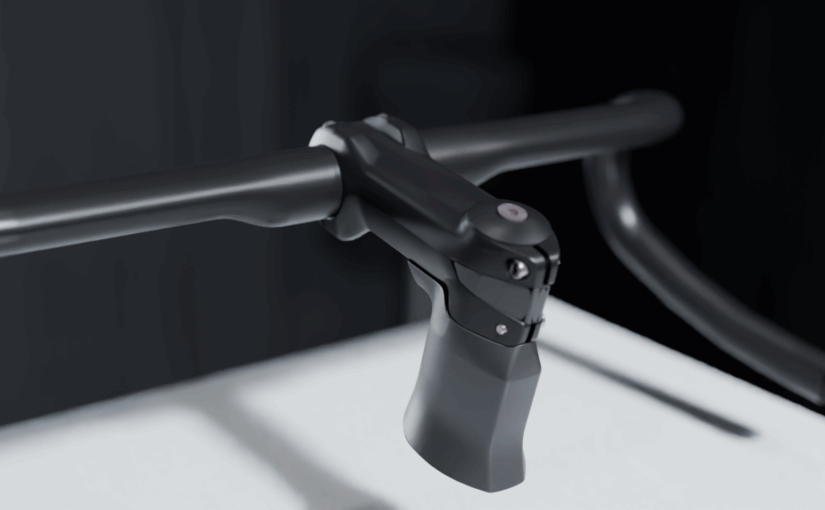
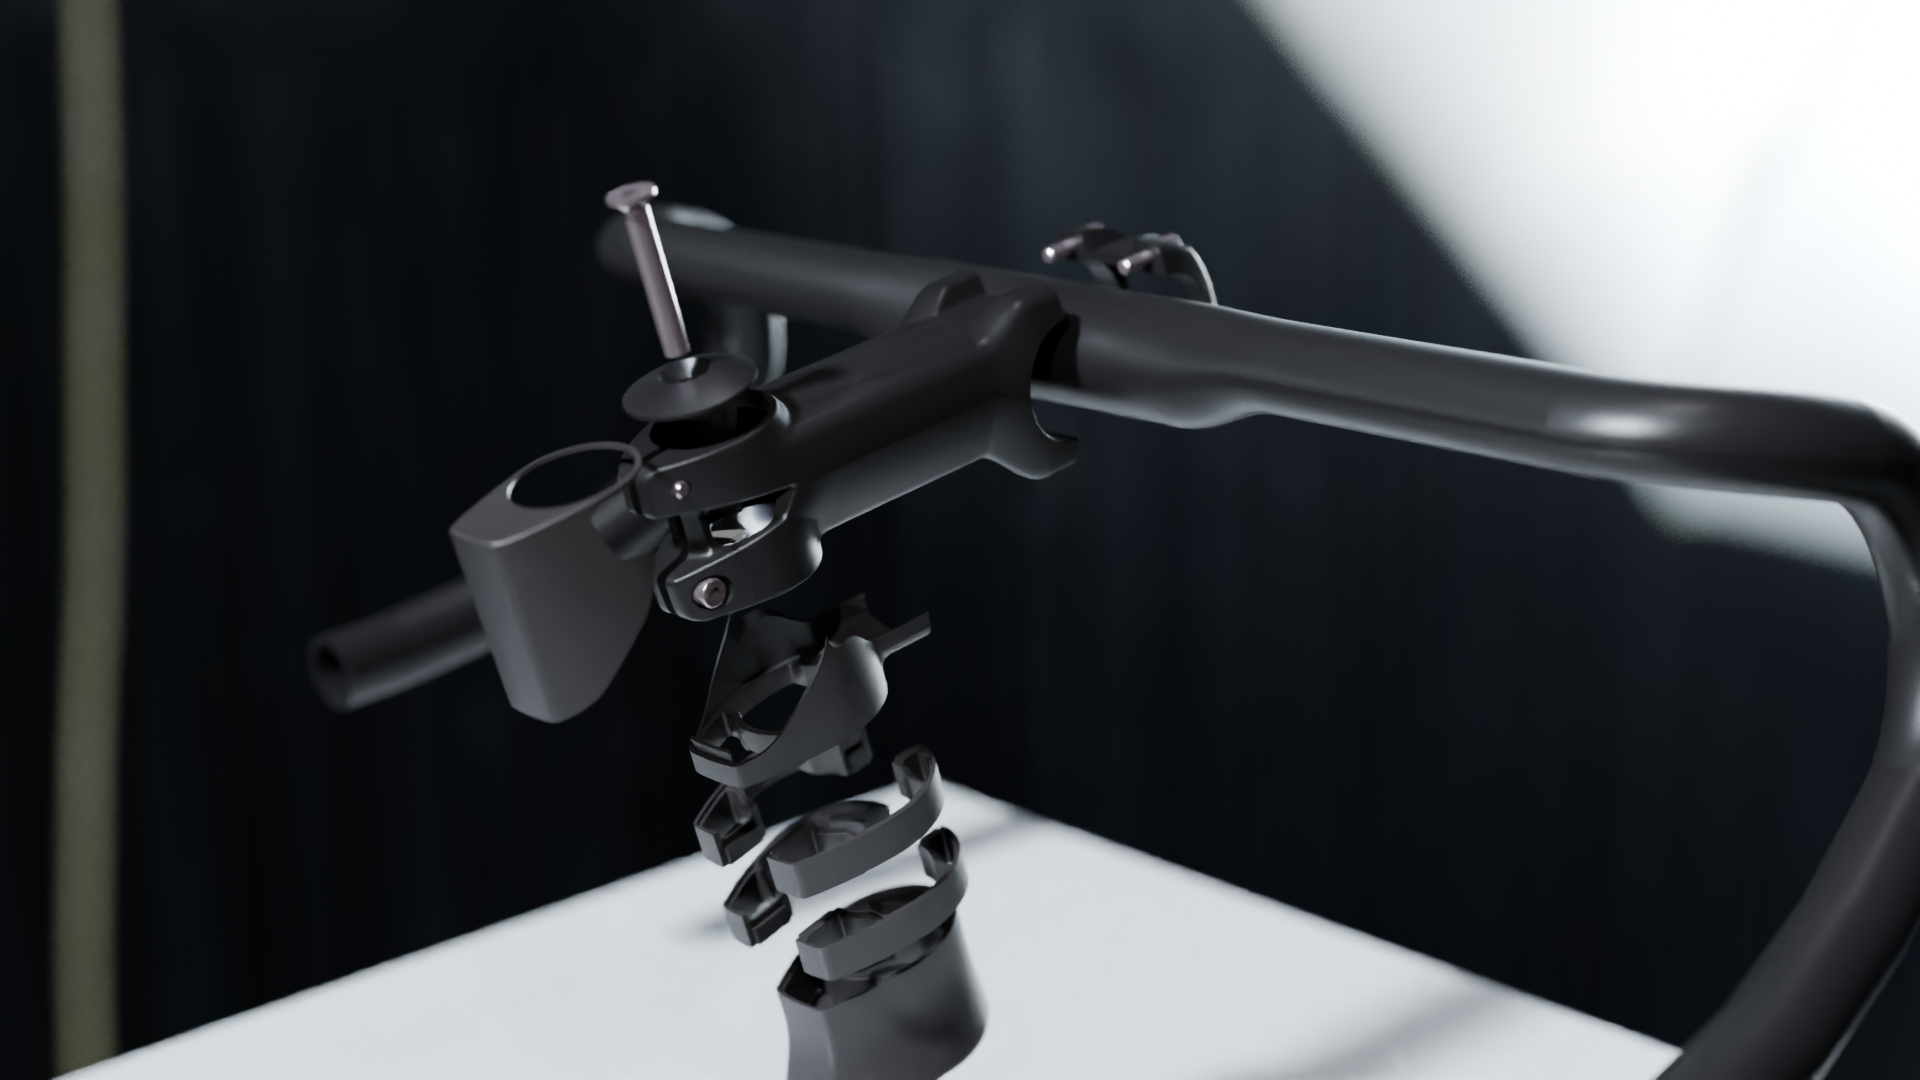
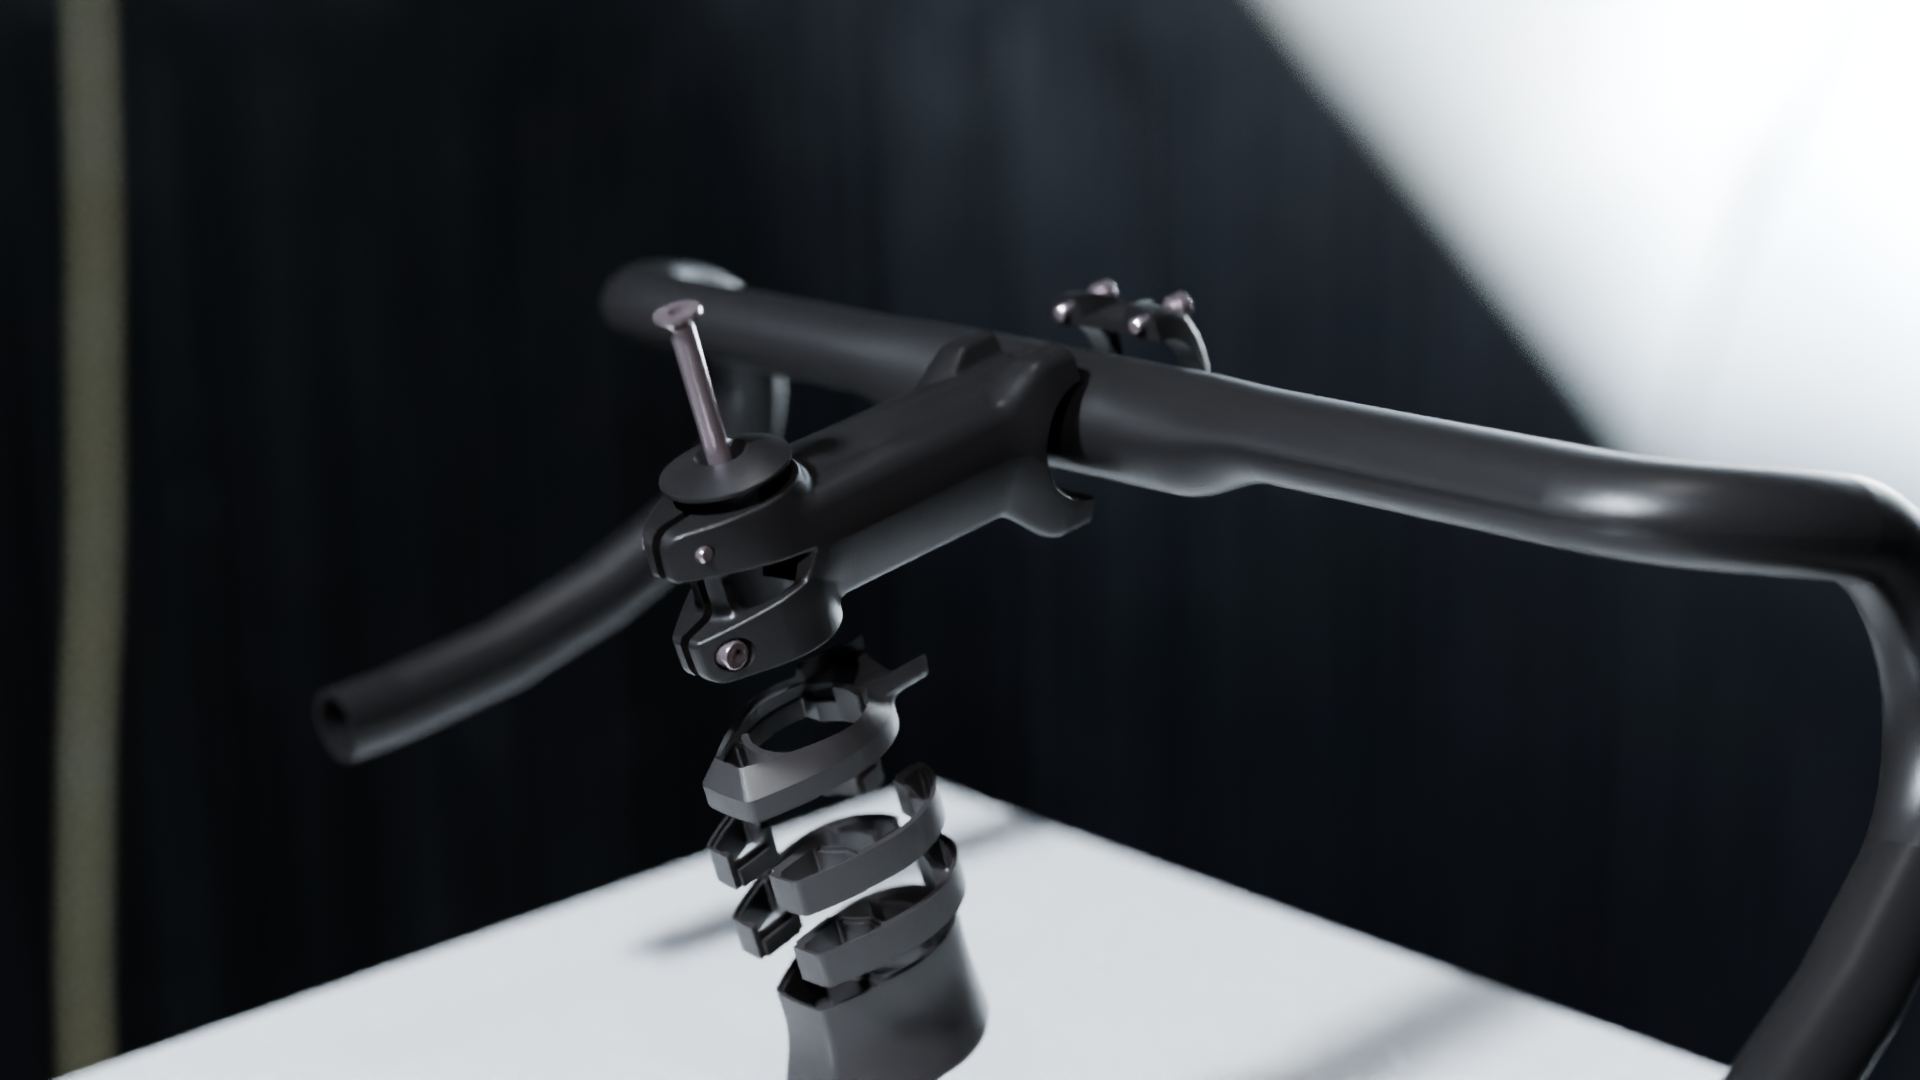
Version 1 – Making It Work
The first version guided the cables under the stem while using the same upper volumes as the ICS2 system. To close the back of the stem, a cover was added behind it.
To ensure proper fixation on the fork steerer, the design reused the ICS2 stem’s wedges that press against the sides of the flat steerer tube.
The V1 concept worked, but it was visually quite large.
Version 2 – Reducing the Volume
About a week later, a second version appeared. The goal was to reduce the size of the rear section by finishing the RSM01 stem with a smaller appendix. This improved the proportions and reduced the visual mass.

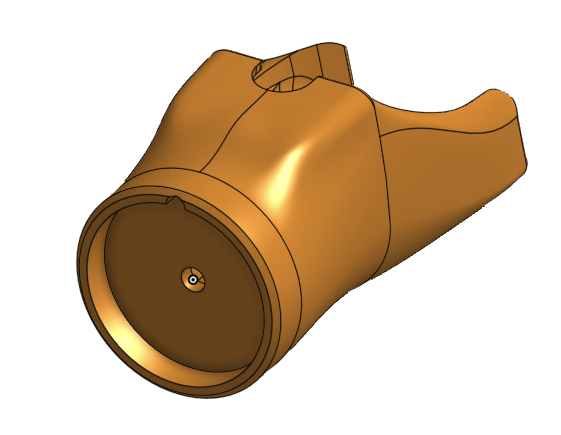
Version 3 – Simplifying
The third version followed immediately. It aimed to simplify the design by removing the appendix entirely. While technically simpler, the result was visually less appealing and still lacked the ICS wedges.
It was clear that the concept needed further refinement.
Collaboration and Refinement
At this stage, I began a close and very enjoyable collaboration with Etienne Goy, the engineer responsible for the project. Together we refined the concept and worked through the technical constraints to find the right balance between cost, integration, and aesthetics.
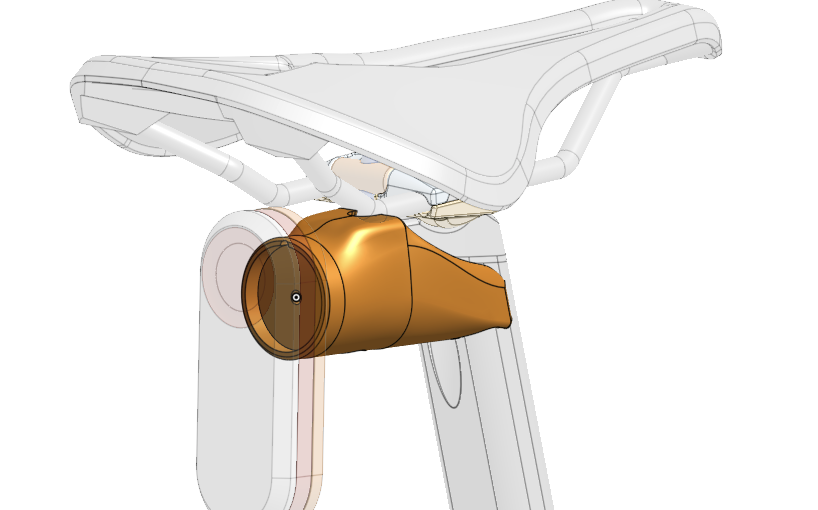
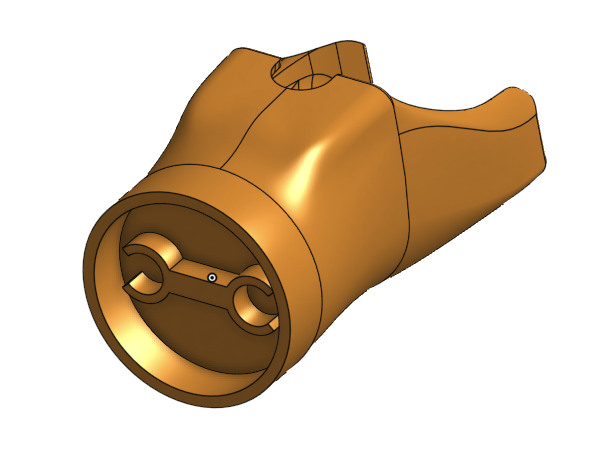
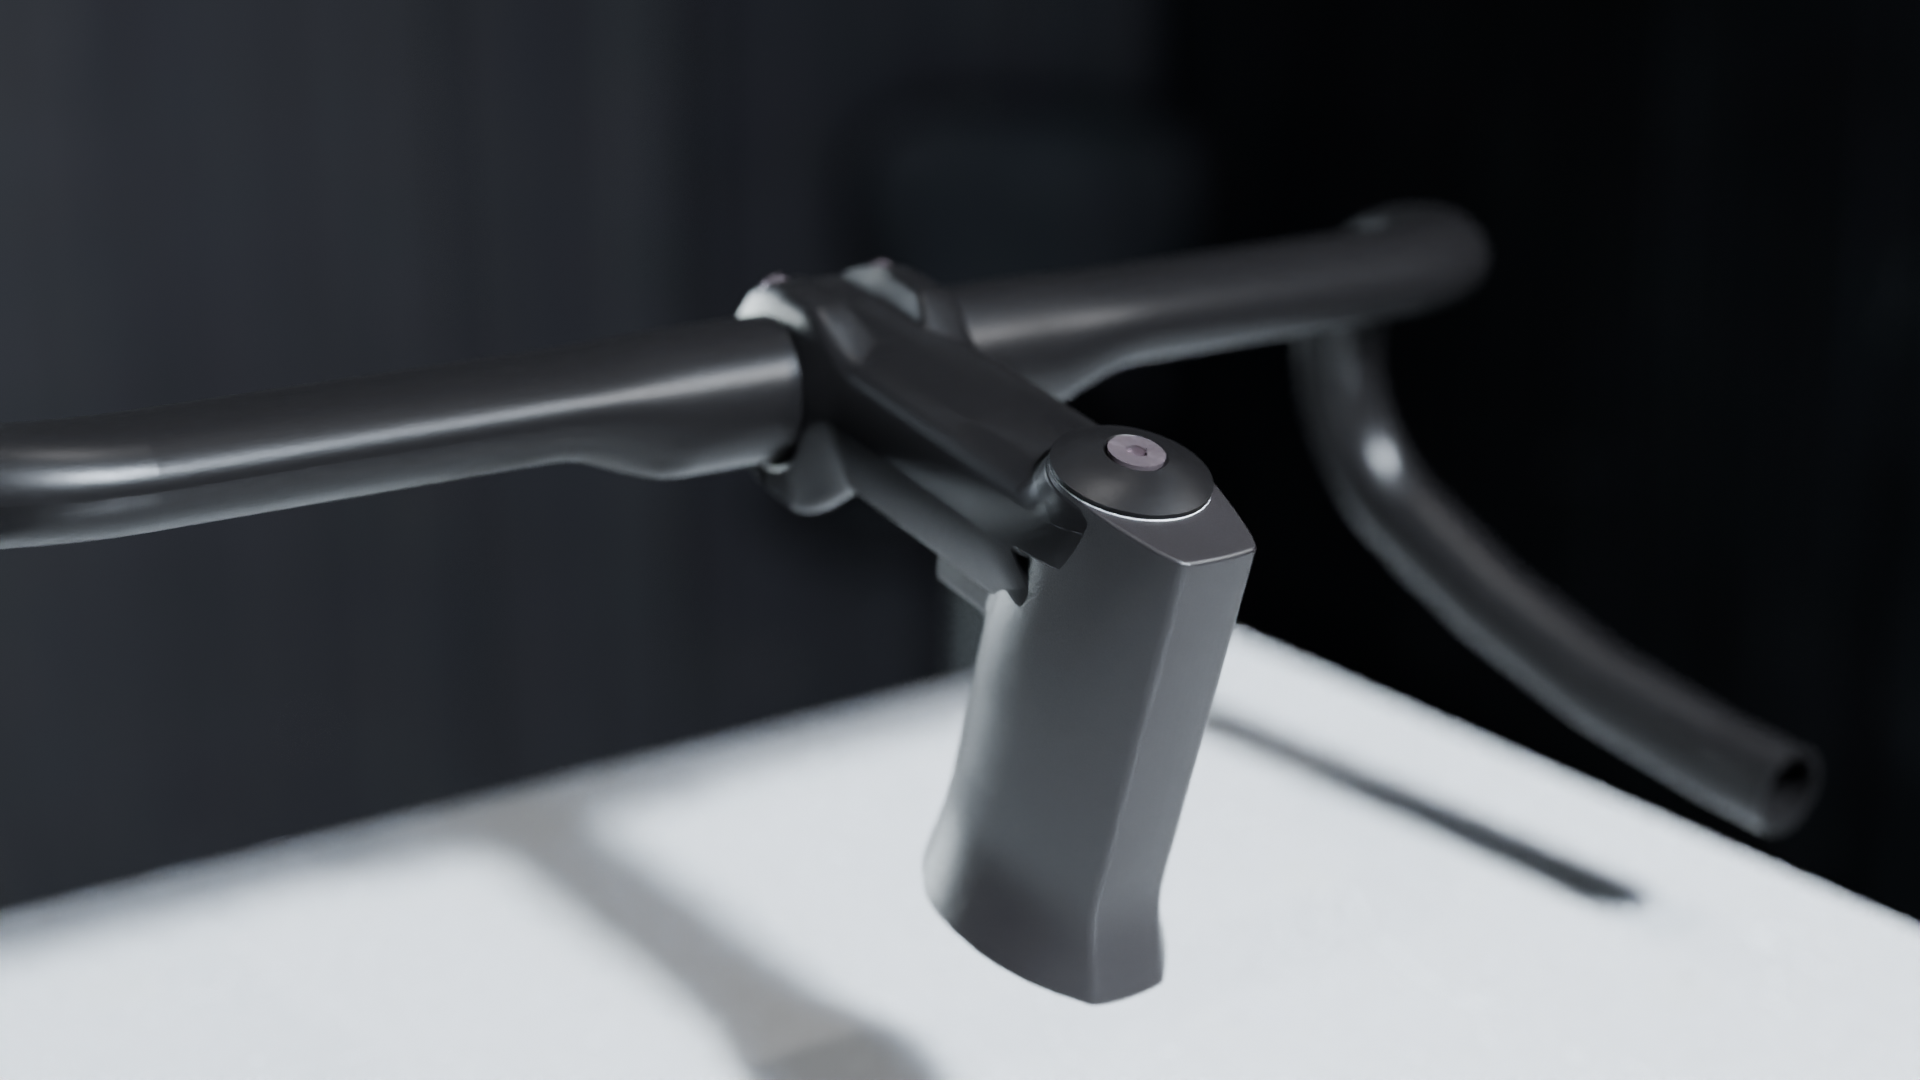
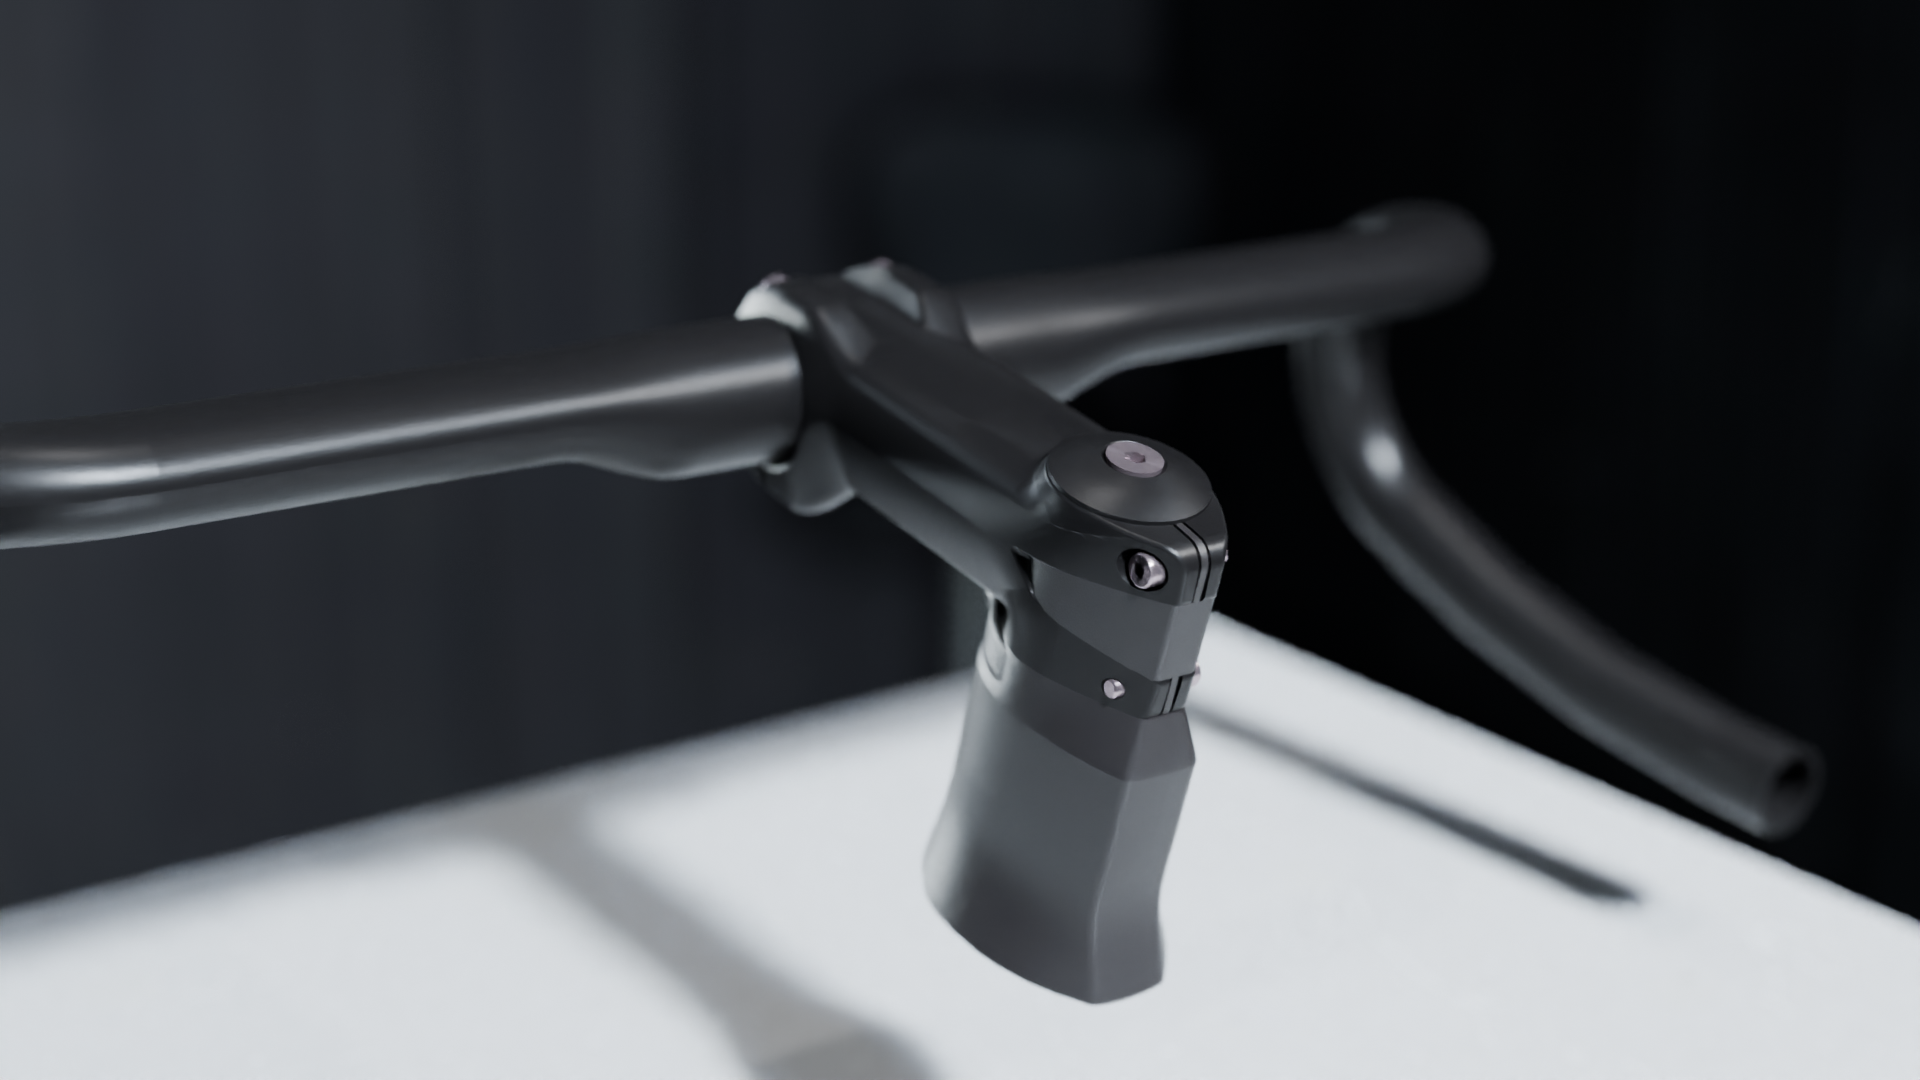
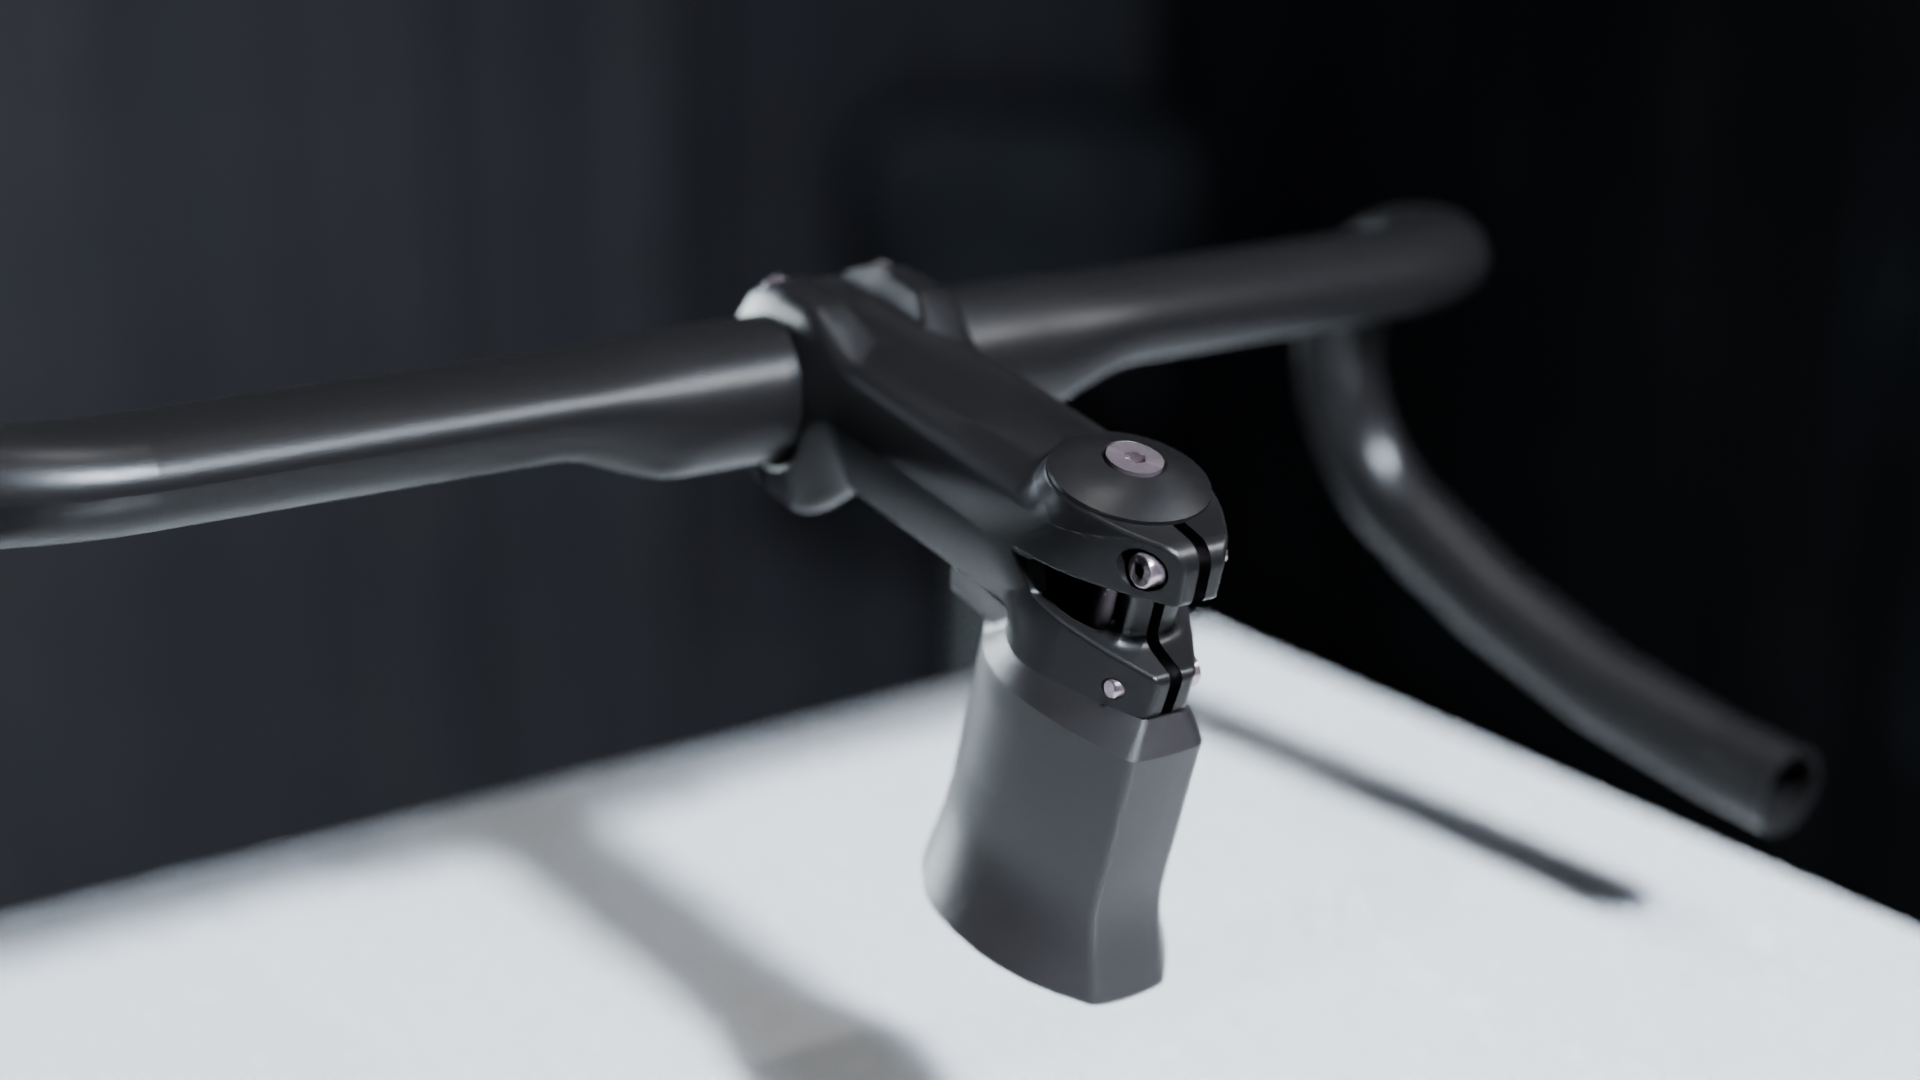
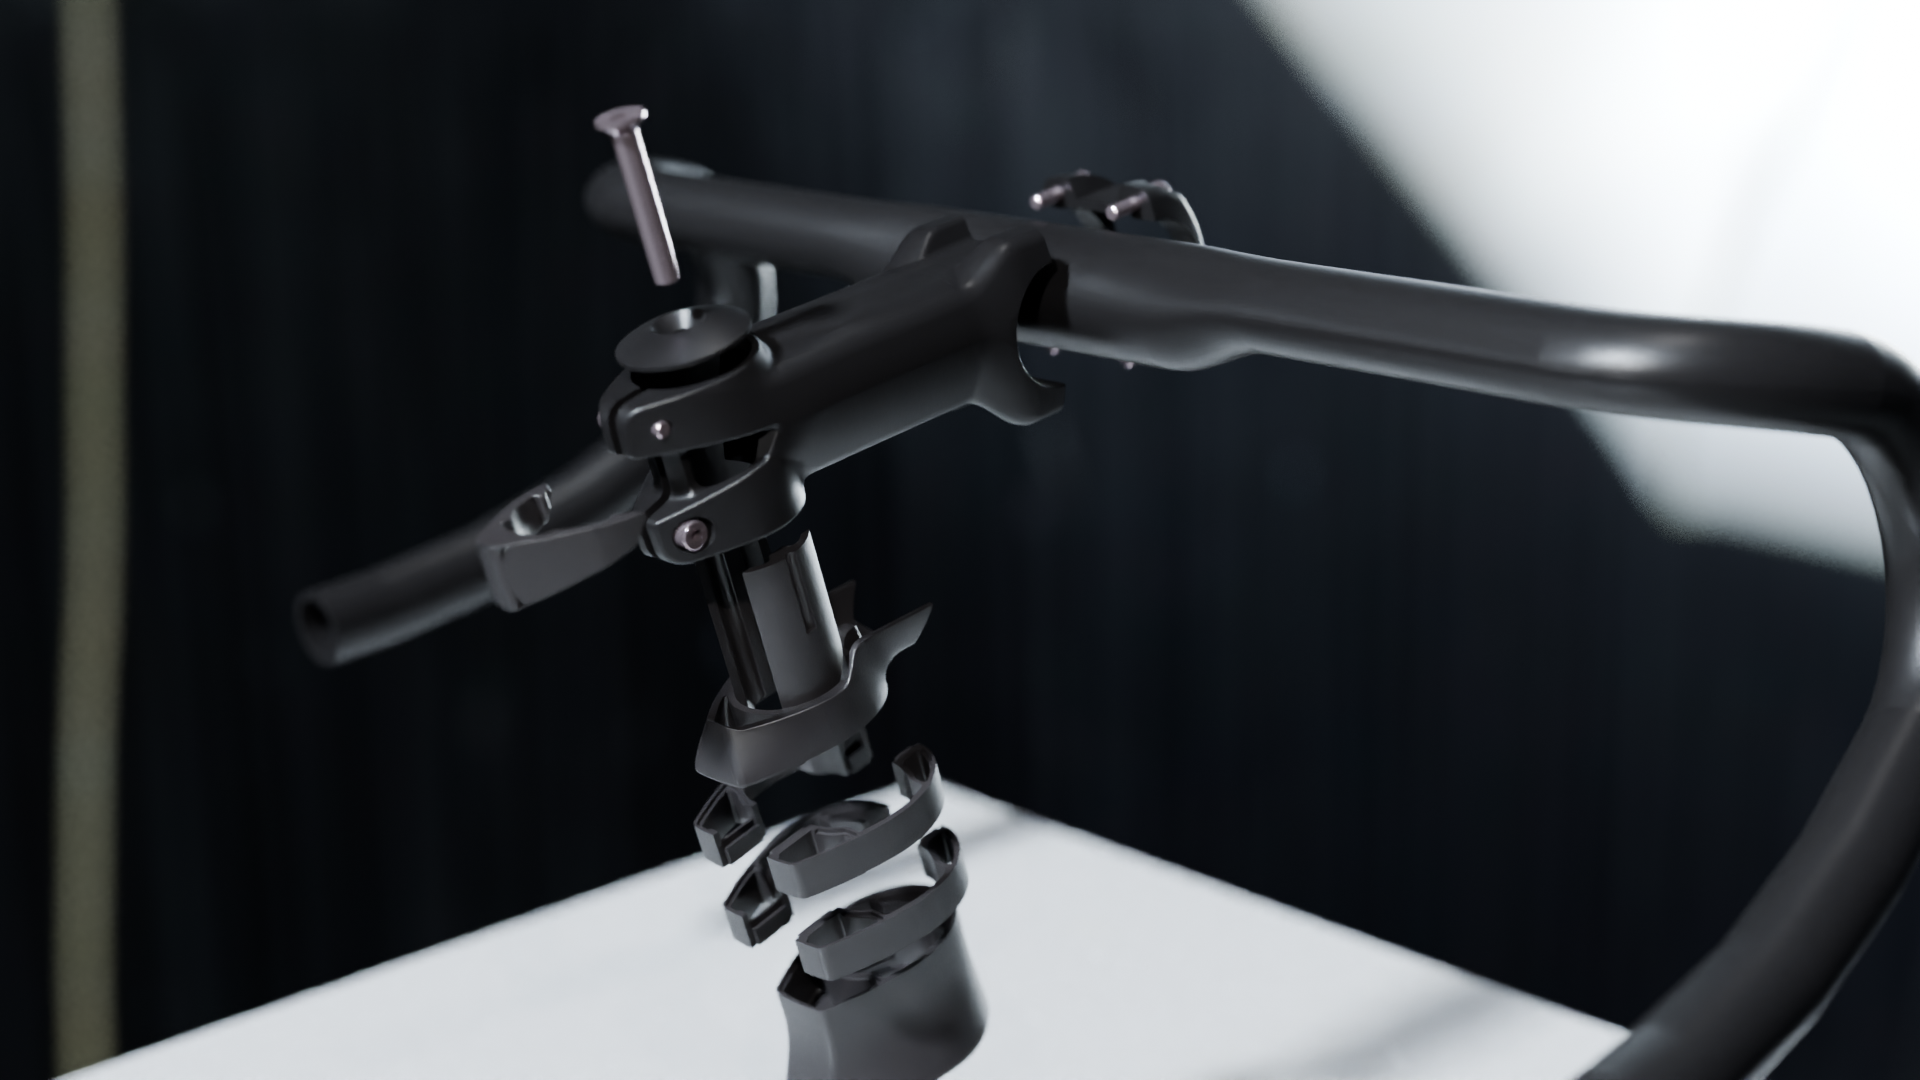
Version 4 – The Final Concept
In December 2022, the fourth version finally gave the project its definitive direction.
This iteration:
- Integrated the ICS wedges to press securely on the sides of the fork steerer
- Allowed the addition of a clip-on finishing cover for the rear of the RSM01 stem
- Preserved compatibility with the existing ICS2 spacer and top cone ecosystem
The result was a clean, efficient, and cost-optimized interface.

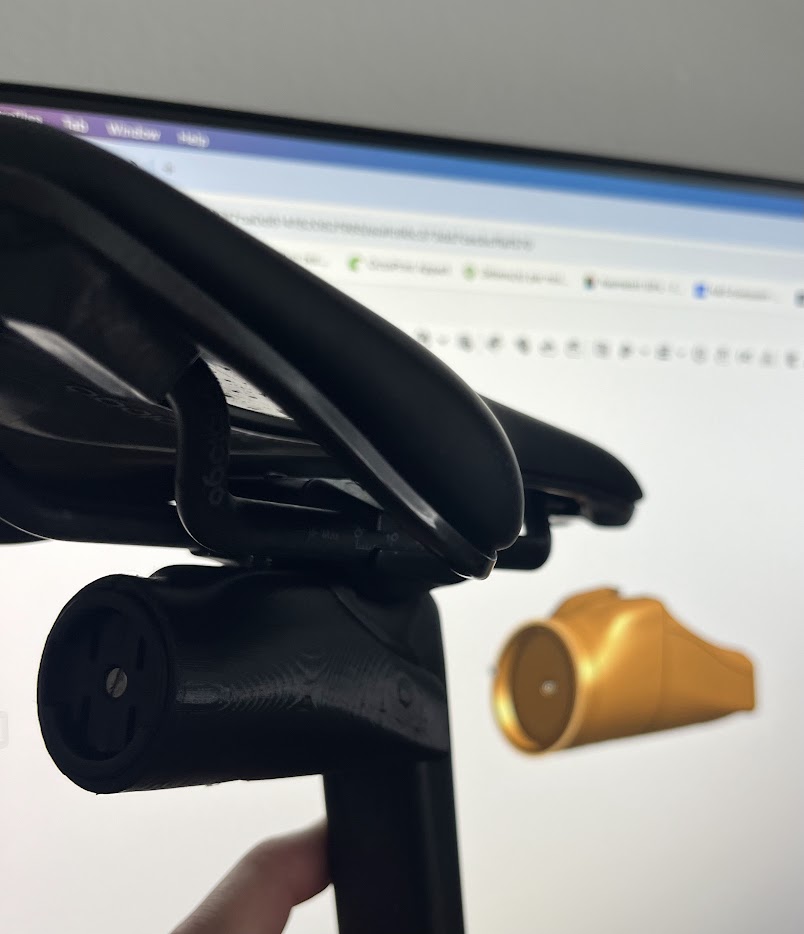
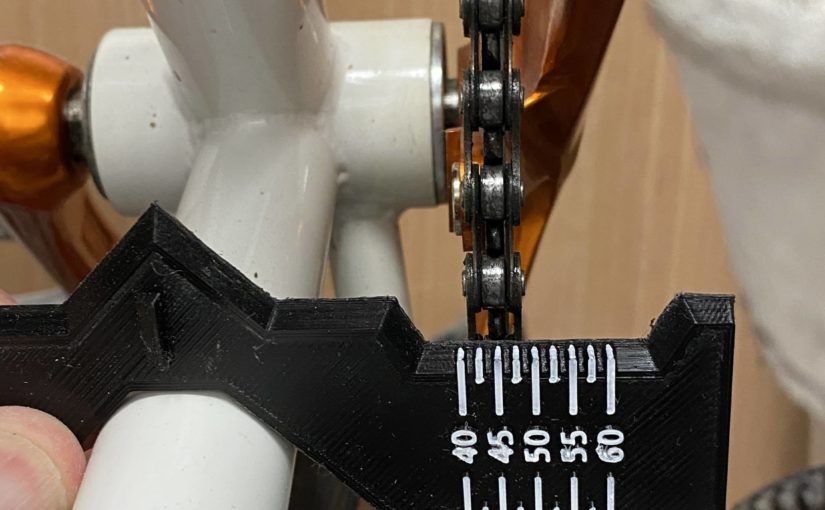
From Prototype to Production
With the concept validated, the project entered full development. The first production parts arrived shortly afterward and began appearing on many models of the 2024 range.
ICS Eco ultimately achieved its objective: bringing the visual cleanliness and functional benefits of integrated cable routing to bikes at retail price starting from €2500.
A Project I’m Proud Of
From the initial need to a working prototype and finally to a production solution perfectly aligned with cost targets, ICS Eco represents the type of project I value most.
It started with a simple observation, evolved through rapid iterations, and succeeded thanks to strong collaboration between product management and engineering.
And for me personally, it remains a project I’m particularly proud of.